
| Home > Learn with Ellen > Articles > Fabric Collage |
Fabric Collage
I'm often asked about my construction technique, as well as my design inspiration.
This article will shed a little light on both of those topics.
Sometimes, I start with a specific photo, as my inspiration. (This is always a photo that I've shot myself.) Here's one such photo, of my neighbor's ti plants:
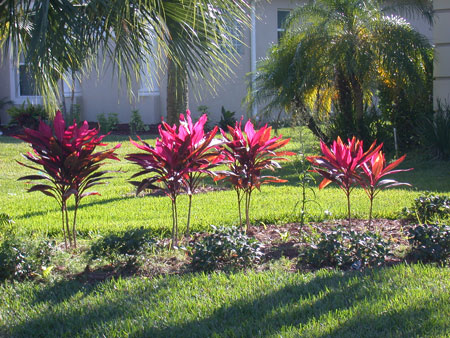
I pay attention to what aspect of the photo appeals to me, and I try to focus on that. In this case, it's the backlit pink leaves. To feature them, I've cropped the photo.

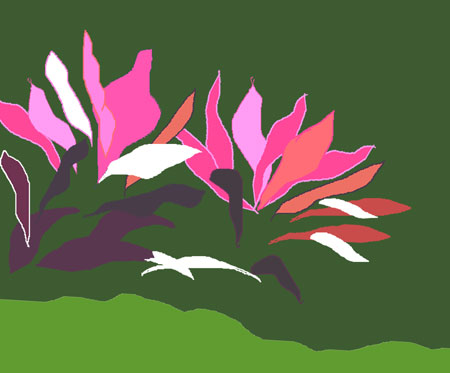
Typically, I make some sort of sketch, especially when I'm interpreting a photo. In this case, I did it in the computer. This is not meant to be a concrete plan, but rather, an idea to get me started. As a matter of fact, I often find the PROCESS of sketching to be of greater value than the resulting sketch. This is the time during which I consider options, and the adrenalin really starts to flow!
Construction takes place on a design wall. (This is, basically, housing insulation covered with flannel or felt.) I pin up a piece of white background fabric, as a base. Then, I begin to pin other fabrics into place.
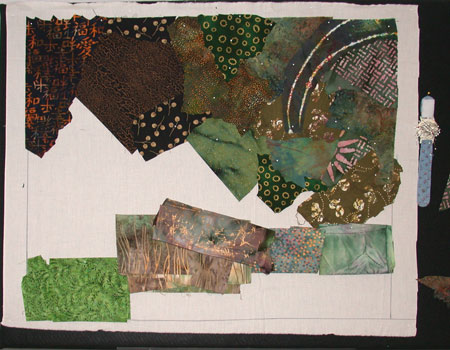
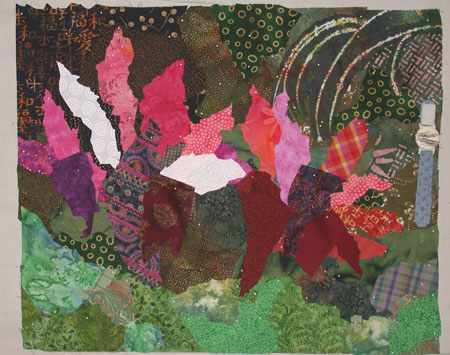
In the photo above, I'm focusing on value (light/dark.) I want the background darkest at the left, to give a strong contrast with the vivid colors that will be placed in that vicinity. The rectangular fabrics at the bottom are folded pieces of fabrics that I'm auditioning. (The white dots are the pin heads.)
This is great fun! I freely cut shapes, often using scraps with very little alteration. I try to work fairly quickly,
so I don't over think things.
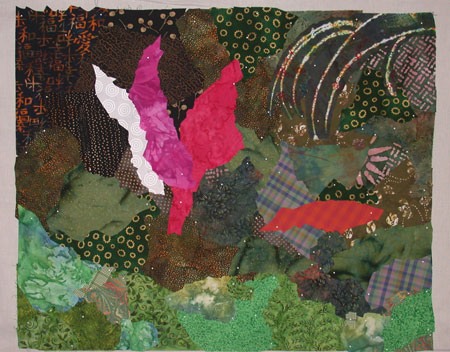
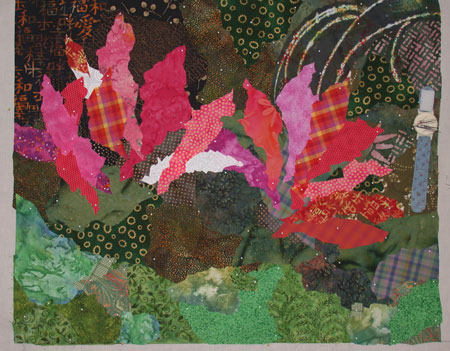
In the photo above, I've placed the first few leaves, which will establish the design. To help me work quickly, I precut a variety of leaf shapes, in an assortment of fabrics.
I cut and place, move, reshape, and tweak, as needed. This is an exciting way to create, because it's extremely flexible! In the next photo, I'm thinking ahead to the dark fabrics I'll be needing.
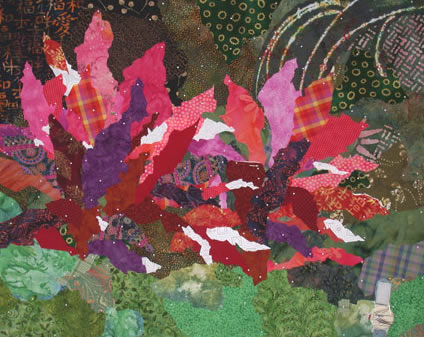
The darks looked good, but I wasn't ready for them yet. In the next shot, I've removed them, in order to concentrate on the main leaves. Can you identify the changes I've made?
Now, it 's time to add the dark foreground leaves back. For this project, I've cut everything so it has jagged edges. I do this by scrunching the fabric as I cut it.
Part Two:
Border options and finishing details