
Perfectly Flat Quilts
Blocking Part One: The Basics
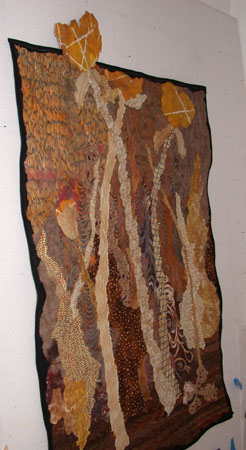
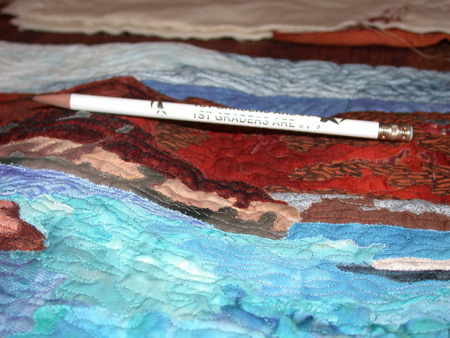
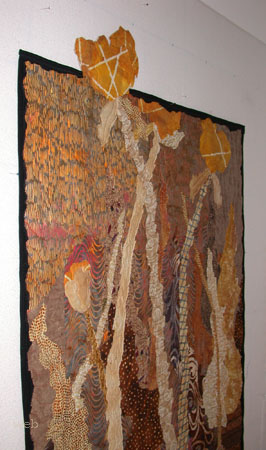
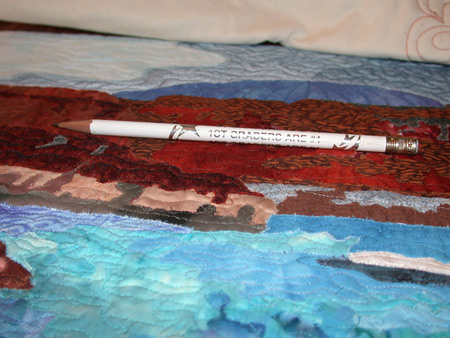
I love gently rolling hills and mountainous terrain - but not when they describe the surface of my quilt! Yet, I find myself facing this scenario pretty frequently. See two examples below. Thankfully, I was able to correct both problems with the use of blocking.
[Photo note: My design wall is propped against the wall, rather than attached. You will notice this slant in some of the photos.]
 |
 |
Blocking is a method of reshaping textile items. It only works on natural fibers, so the use of cotton or wool batting is required. The process involves stretching and pinning the quilt, then steaming it and allowing it to dry.
What you'll need:
- A
flat pinnable surface - design wall, carpeted floor, or cardboard cutting board (like the ones sold in fabric stores.)
- A way to ensure long straight lines - laser level, metal yardstick, or a grid drawn on your pinnable surface.
- Measuring tape and/or ruler
- Straight pins. You may find two colors helpful.
- Spray bottle with water
- Iron
All of this is only valuable if you can measure accurately and ensure the squareness of the blocked quilt. This is where some sort of predrawn grid comes in extremely handy. My design wall works quite well for this. Using a permanent marker, I drew a large grid on the insulation board before covering it with white flannel. This shadows through just enough for me to reference it. (This is so handy I almost want to tell you to take your design wall apart and redo it!) Barring that, there are a few variations you might try. There are gridded versions of flannel and interfacing, as well as gridded fabrics like gingham. You can add one of these to your design wall, however, you'll need to spend a good bit of time ensuring that each line is perfectly straight and square.
Robbi Eklow uses some interesting tools. She uses a laser level and the long plastic panels that are meant to be the vanes of vertical blinds. Her ideas cut down on the measuring, so I'll definitely be trying some of them myself. (See resources at the end of this article.) For now, I'll tell you about my current process, which utilizes my
design wall, with its subtle grid. It's much easier to
block quilts on a design wall, ra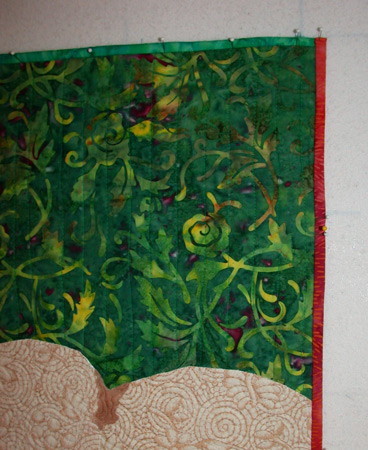 ther than the floor. If your wall is not gridded, you'll need to take measurements from the edge, use a laser level, etc.
Starting at the top, use your securing pins to pin the quilt along a horizontal line, stretching it left and right as you go. Be sure to put some tension left to right, but don't wear yourself out. Since this is the easiest side of the pinning, start with a long side. I insert my pins right where the binding meets the body of the quilt, angling them away from the interior. I use pins with white heads for this. (See photo at right.)
Next, firmly pull the bottom corners down and out. Pin them in place. Measure the position of these two corners from the bottom of the design wall (or the nearest drawn line.) Average these measurements and use it as the measurement/line for the bottom edge. Put a few marker pins in place to mark this. (I use pins with different colors for these marking pins.)
Because the left and right measurements of the bottom two corners will match those of the top edge, these have already been determined. Transfer these measurements to the bottom corners, and mark with marker pins. You should now have the top edge pinned, and the bottom corners clearly marked with colored pins. (A variation is to use blue painters tape instead of marker pins. You might even want to keep it in place for future blocking.)
The next part is the hardest. Pull the quilt toward the bottom corners and pin in place. This will require a good bit of pulling and several pins.
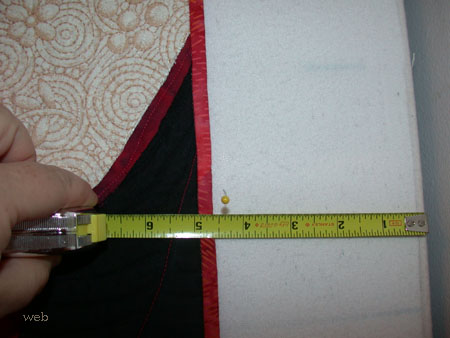
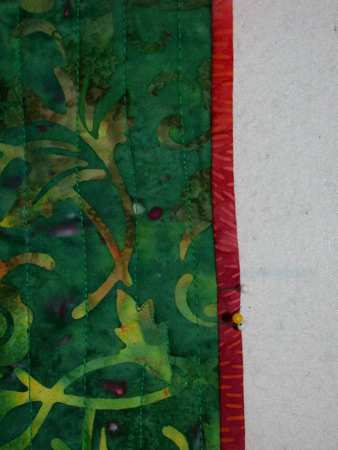
Next, use marking pins to mark the correct measurement for one of the sides. (See photo below, at left.) Add marking pins every
3-6". Now, pull the quilt until it just touches the marking pin. While holding it in place, put two securing pins in place. You can see this in the photo below right. The yellow pin head is a marking pin. The two white pin heads are securing pins, which are angled away from the interior.
 |
 |
Continue pinning the entire side in this manner. Use a yardstick, or reference existing grid lines to make sure the pinned side is straight throughout. Repeat for all remaining sides.
Next, spray water over the entire surface of the quilt. Let is rest for about fifteen minutes, so the moisture will penetrate.
Heat your iron to the highest setting appropriate for the materials you've used. If you have some areas with synthetic fabrics, treat those first, with a lower temperature, and later increase the heat for the cotton areas. Don't use a hot iron on synthetics! Mark these areas in some way, as a reminder. Slowly move the iron all over the quilt. Stay in each spot for about five seconds. You'll hear the water steaming and evaporating as you go. Leave the quilt overnight.
The next day, remove the pins and be amazed at your perfectly flat quilt! Like the two below. What an improvement!
 |
 |
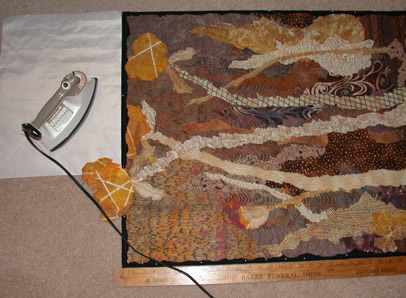 If your quilt is too large for your design wall, you can use the same techniques by pinning into your carpet, a heavy rug, or a cardboard cutting board (like the ones sold in fabric stores.) Again, your job will be easier with a predrawn grid. The cardboard cutting surface already has one. Another alternative is to draw a grid on a tablecloth or sheet and put it down before starting. You'd have to make sure it's square before proceeding, however. A long metal ruler comes in handy with floor work. It won't warp, like a yardstick will. (The photo at right shows me blocking on the floor without any of these helps. It was very challenging.)
Acknowledgements and Resources
Thanks to Kay Sorenseon, for her suggestion to use a cardboard cutting board. Visit Kay's blog.
Thanks to Bonnie McCaffery for showing wonderful free videos (such as Robbi's) on her website.
Thanks to Robbi Eklow for her creative ideas. See a video.
Robbi Eklow's website.
Part Two covers occasions when you may want to block your quilt before attaching the binding or facing, and how to handle trouble spots.
If you found this information useful, you may be interested in my other free articles, online classes, and e-books. You'll find a full directory here.
©2007-2012 Ellen
Lindner
|